
Seamless Integration: Setting Up Microsoft Forms & Excel Online Auto-Sync
Seamless Integration: Setting Up Microsoft Forms & Excel Online Auto-Sync
Quick Links
- Step 1: Create and Share Your Microsoft Form
- Step 2: View, Edit, and Use the Responses in Excel for the Web
Are you collecting data through Microsoft Forms and want to review and analyze the results in real time? Excel for the web allows you to see and manipulate new entries as they come in.
Previously, when you designed a form on Microsoft Forms, if you wanted to export your data to Microsoft Excel to crunch the numbers, you would have to download the results into an Excel 365 app workbook.
This meant that each time you received a new submission on your form, you would either have to merge your Excel sheets or download the latest version and delete old copies, which can be a tedious and cumbersome task. This can still be useful if you’ve closed the form and are certain that you’ll receive no more entries, as some functions work better in Excel’s desktop app than in its online counterpart.
However, if your Microsoft Form is still live, and you want to analyze the data as entries build up in the same way as you would when using Google Forms alongside Google Sheets , Microsoft lets you do this through Excel for the web.
Step 1: Create and Share Your Microsoft Form
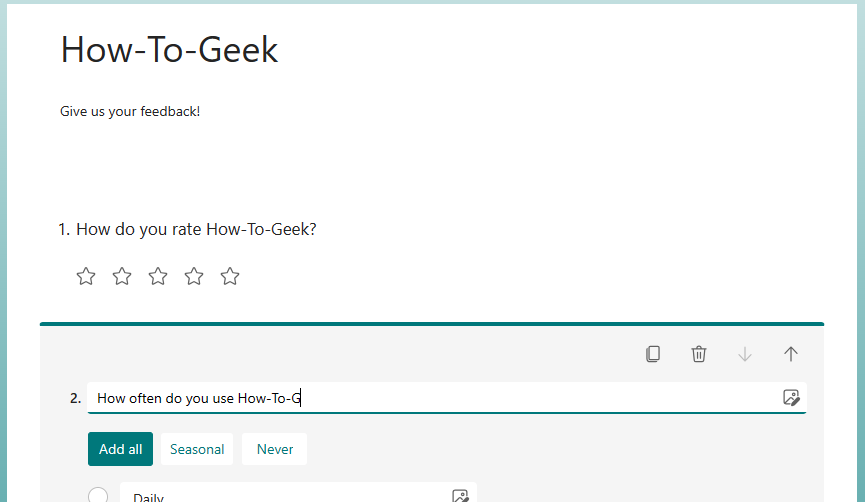
Start by creating your form in the usual way through Microsoft Forms . Make sure you give your form a title, a description, and then choose from the various question types as you develop your form.
As you add information and type the questions, your form will save automatically.
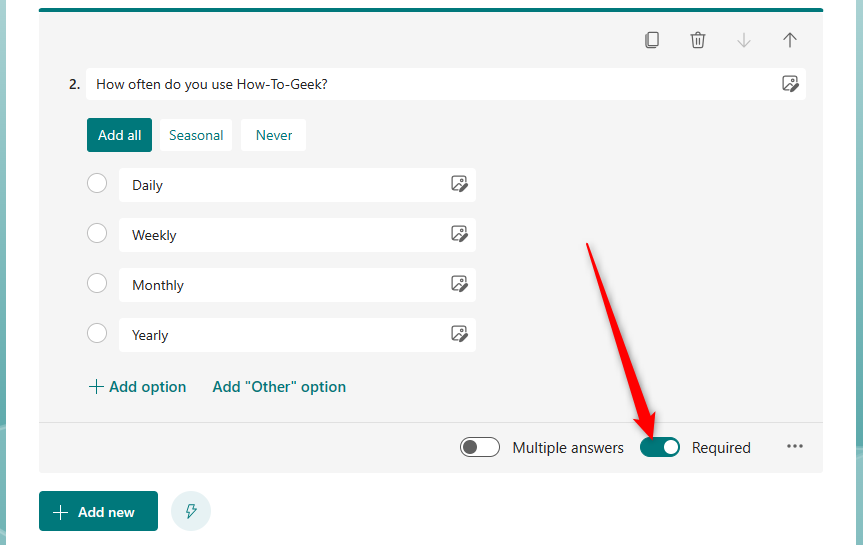
When you have finished creating your form, confirm that you’re happy with the options available for each answer and make sure you’ve toggled the “Required” button for all mandatory questions. This is a crucial step to ensure that you can fully analyze the data for the questions that really matter when you review the results in Excel for the web.
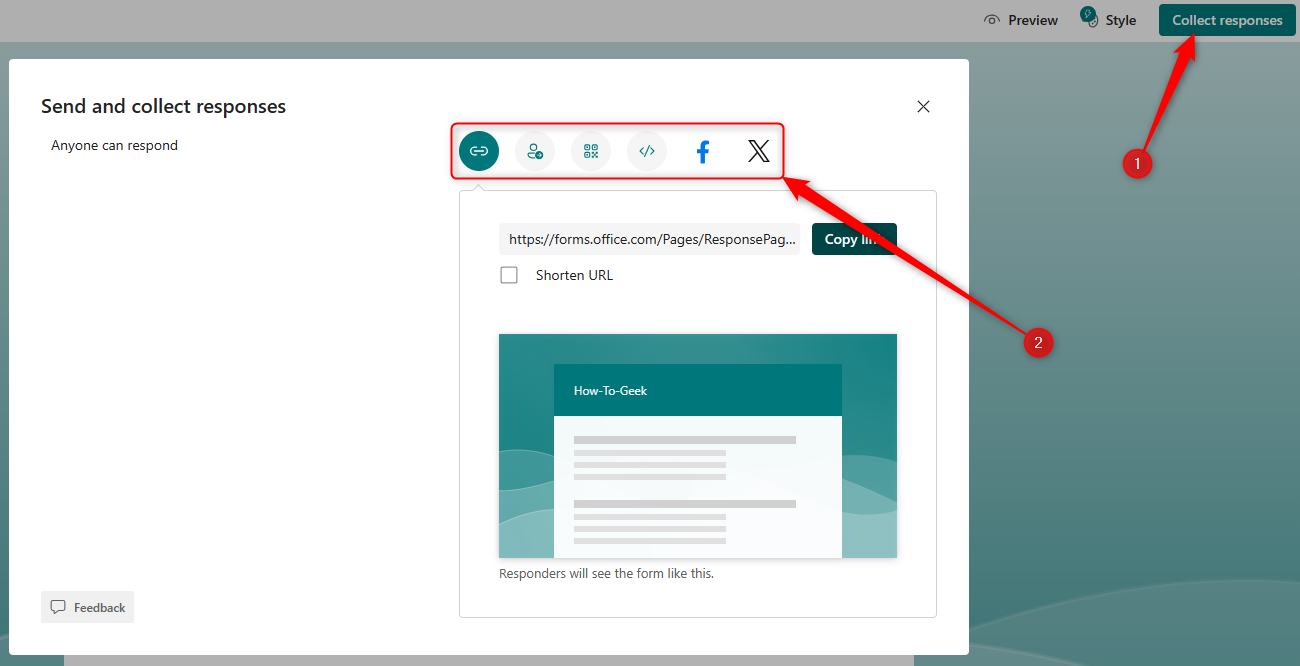
Finally, click “Collect Responses” and then choose how you will distribute your form, whether that be through a link, a direct Microsoft Forms invitation, a QR code, social media, or an embedded code on a website.
Step 2: View, Edit, and Use the Responses in Excel for the Web
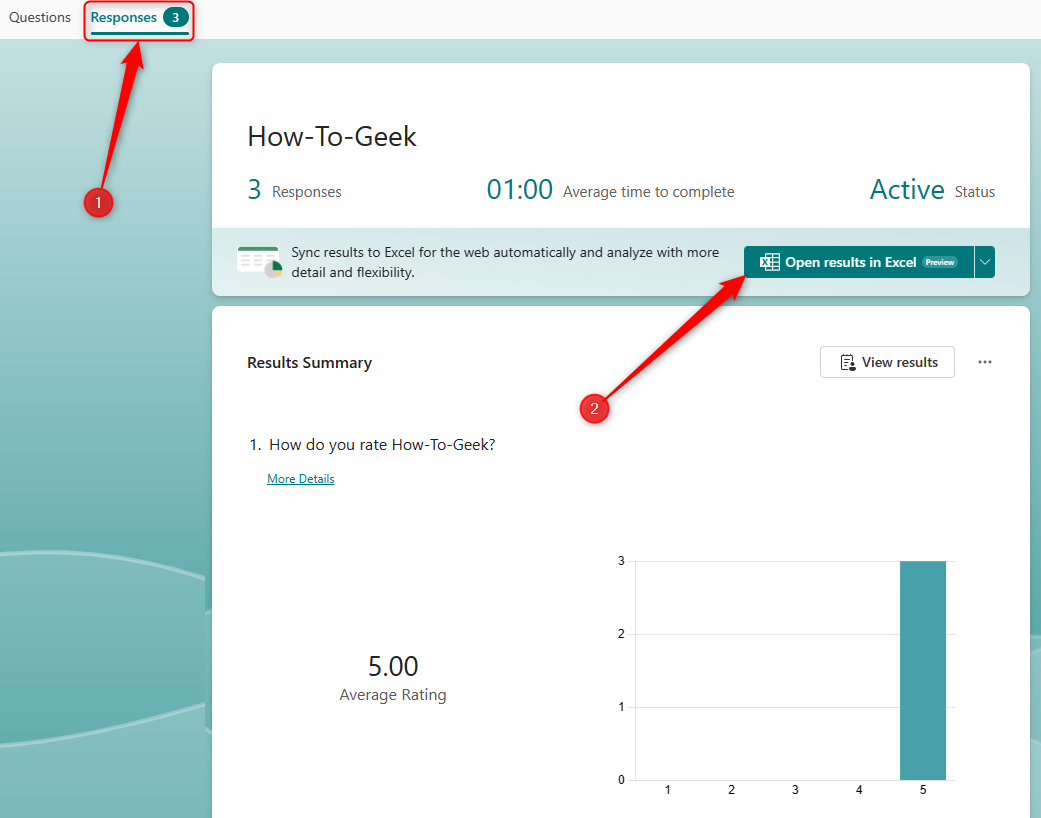
When you have started to receive entries, you’ll see a number appear next to the Responses tab in the ribbon at the top of your Microsoft Forms editing window.
Click the “Responses” tab, and you will see the results in more detail in your browser window. However, to open the results in table form in Excel for the web, where you can manipulate your data, click “Open Results In Excel.”
If you have closed entries to your Microsoft Form, and would prefer to analyze the results in Microsoft Excel 365, click the drop-down arrow next to “Open Results In Excel,” and select “Download A Copy.” This will produce the results in an Excel 365 workbook, which you can access through your device’s downloads.
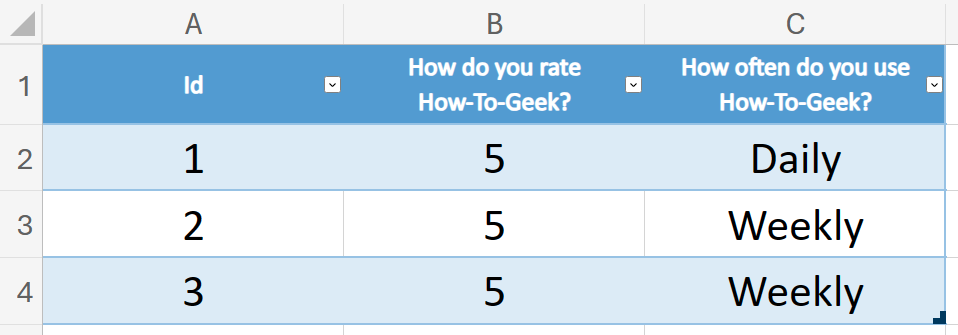
Your Internet browser will then open Excel for the web in a new tab, and your results will appear in a table. If your Microsoft Form is still open for new entries, they will appear automatically as additional rows at the bottom of your table as soon as they’re submitted.

You can now amend your table to display the data you want to see in the format that works best for you. For example, in our table, we don’t need to know the start or completion times, or the email addresses for each entry. We want the headers to be clearer, and we want to center-align the text in each cell.
You can undo (Ctrl+Z) any actions you perform on your results table, but once you close the window, any changes you have made will be irreversible. When you re-open the spreadsheet, the changes you have made will remain in place.
Finally, with the data still coming in, you can add charts to your Excel for the web workbook as you would in Excel 365. Highlight the data or the column(s) you want to display in a chart, click “Insert” on the ribbon, and use the drop-down option to choose the appropriate one.

The beauty of this feature is that, whenever a new entry is submitted to your Microsoft Form, any charts you have created that link to the data will update automatically. This means you can dynamically analyze your data without having to manually change anything within your Excel for the web spreadsheet.
Now that your data is viewable in an Excel for the web worksheet, you can share the results by clicking “Share” in the top-right corner of your window. And, while you’re there, why not also try out some other features that have been added to Excel for the web ?
Also read:
- 'Total War: Warhammer III' PC Stability Now Restored - No More Unwanted Shutdowns During Battles
- [New] The Art of Sharing Online Videos From YouTube to Facebook for 2024
- [New] The Ultimate Guide Locating the Heart of YouTube Video Management for 2024
- Fixing the MBR Issue for Seamless Windows Setup in Windows 11 Environments
- How to Stop Wallpaper Engine From Crashing on Windows 11 and 10 Systems
- Immediate Solutions for Your KernelBase.dll File Malfunctions - Get Started Here!
- In 2024, Can I use iTools gpx file to catch the rare Pokemon On Motorola G24 Power | Dr.fone
- In 2024, Enhance Branding The Ultimate Guide to Custom URLs for YouTube
- In 2024, Life360 Learn How Everything Works On Honor Magic 5 Lite | Dr.fone
- In 2024, Navigating the Maze A Comprehensive Guide to MOV Capture in Win10
- Overcoming Excessive CPU Use in Phasmophobia: Effective Strategies
- Spoofing Life360 How to Do it on Xiaomi Redmi Note 12 Pro 4G? | Dr.fone
- The Complete Guide to Transforming Your Footage's Hue
- The Principle of Operation Involving Charging Particles and Collecting Them on Plates with an Opposite Charge
- Troubleshooting Guide: How to Fix Fallout 3 Crashes in Windows 10
- Troubleshooting Steps When Your Paradox Launcher Fails to Start
- Unlock Better Frame Rates for an Optimal Experience in Tainted Grail: Conquest
- Title: Seamless Integration: Setting Up Microsoft Forms & Excel Online Auto-Sync
- Author: Paul
- Created at : 2024-12-03 17:11:49
- Updated at : 2024-12-06 16:36:21
- Link: https://win-able.techidaily.com/seamless-integration-setting-up-microsoft-forms-and-excel-online-auto-sync/
- License: This work is licensed under CC BY-NC-SA 4.0.