
Step-by-Step Tutorial: Enabling Mac's Quick Look on Your Windows PC

Step-by-Step Tutorial: Enabling Mac’s Quick Look on Your Windows PC
Windows users may not want for much, but when it comes to OS X, there are still some items one might put on their feature wish list. Among these is the ability to get a “quick look” at images, PDFs, and other documents by pressing the spacebar.
OS X’s Quick Look feature is smooth and seamless. All you do is click on something, for example an image, and press the spacebar, and you get a simple window showing you a full-size preview without actually having to open an application to view it. It’s one of those unheralded features that is often taken for granted until you find yourself using Windows, which doesn’t have it.

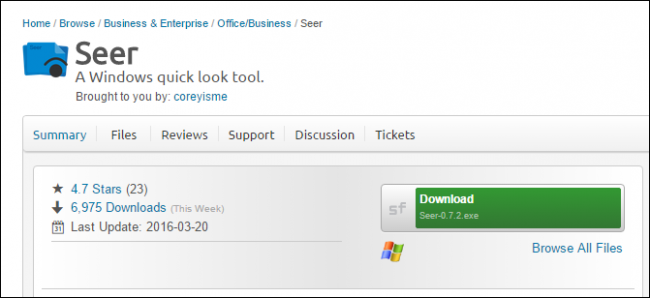
You can however, add quick look-like capabilities to your Windows installation using a small, free application called Seer. Seer is available for download from Sourceforge and claims to be “more powerful and faster.”
At minimum, you need to be running Windows Vista, so if you’re still holding out on XP, you’re out of luck.
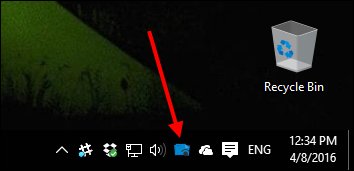
Once Seer is installed and started, it will reside in the system tray as a little blue icon.
Seer works much like its OS X counterpart. Whenever you want to quick look at an image, text file, PDF, media file, or anything other file type it supports, you simply select the image and press the spacebar. In the following example, we’re viewing an image that we’d otherwise have to open in our default viewer. To close Seer, either press the spacebar again, or close it with the “X”.
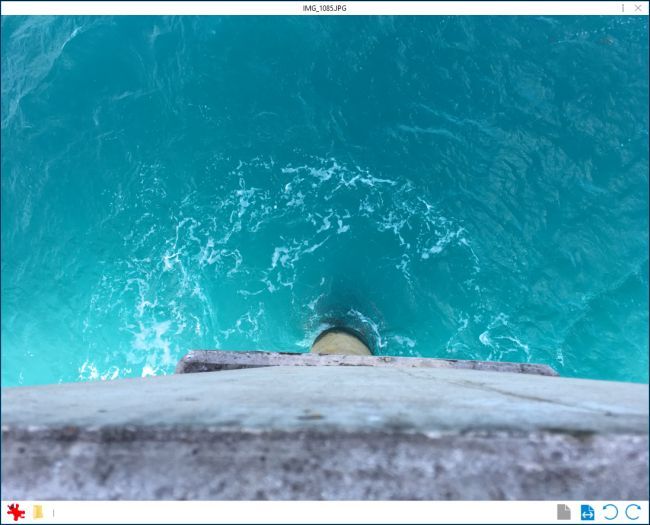
Seer adds a few features that the OS X version doesn’t have. In addition to being able to open the file in its default application, you can also click on the Reveal in Explorer button to open the location where the file resides.

Additionally, there are controls that will let you zoom in and out, as well as rotate the item left or right.

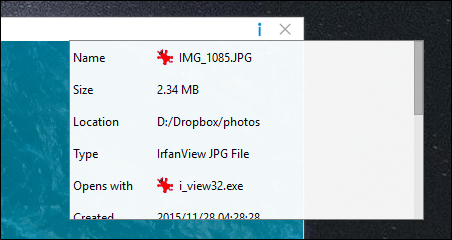
Click the “i” in the upper-right corner to get a quick glance at the file’s information, such as its name, size, creation date, and more.
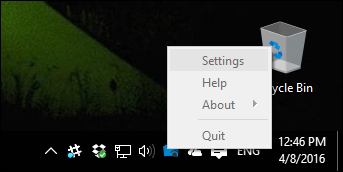
Right-click on the tray icon to open the Settings.
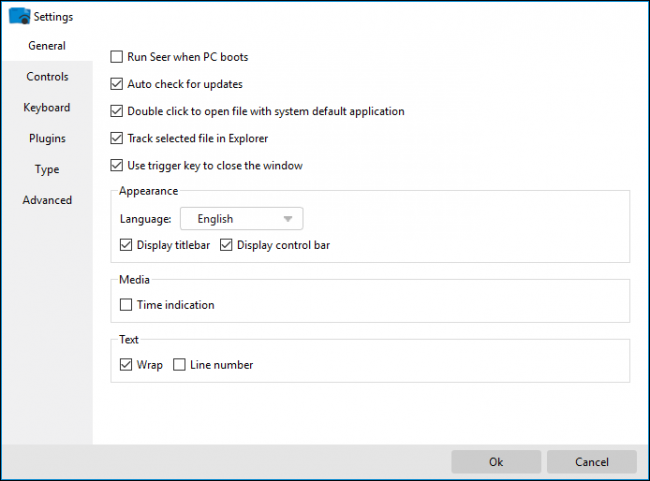
The settings are pretty extensive for such a simple application. The one option you might want to consider, which isn’t enabled by default, is to run Seer when Windows starts. Since this is the kind of feature you want available all the time, it’s a good idea to go ahead and just check this one.
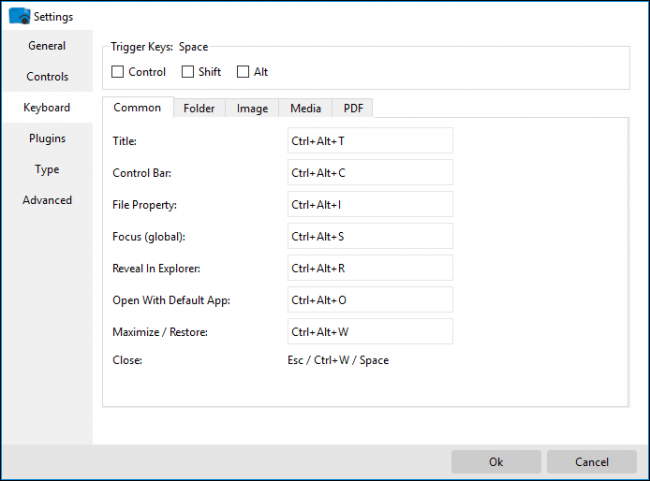
Another part of the settings you may want to closely consider are the keyboard shortcuts. You can customize these to anything you like. In addition to triggers, there are a lot of other shortcuts you can use, including folder, image, and media controls.
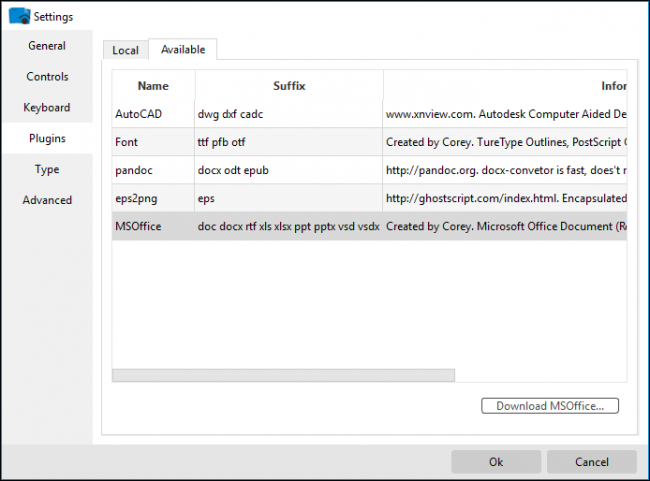
Seer also lets you install plug-ins. This is especially useful if you want to peer at files that Seer doesn’t support by default, most notably Microsoft Office files such as Word documents, Excel spreadsheets, and PowerPoint presentations.
To get an idea of the types of files Seer supports, click on the “Type” settings. Note, if there are any text file types you want to add or remove, you can do so. Other file types such as pictures, media, and compressed files cannot be configured but if you don’t see something supported, you can always check for a plugin.

While it’s arguable that Seer is actually faster than OS X’s Quick Look feature, there’s no doubt that it’s a lot more powerful. The sheer number of options dwarfs the Mac version, and it’s likely to quickly become an indispensable add-on that you use all the time, or until Microsoft finally gets wise and adds it to an upcoming version of Windows 10.
So if you’ve always wanted quick look capabilities on your PC, or are just now discovering the potential, definitely check Seer out.
Also read:
- 2024 Approved Exclusive Free Photo Upscaler for Modern Devices
- 2024 Approved Outlook Orders Analysis
- Banish Garry's Mod Crashing Woes: Updated Fixes, Tips, and Solutions
- Expert Advice for Solving 'Steam Cannot Update Cloud Library' Issues
- Get the Latest AMD Radeon RX Groovy to Download and Install Drivers on Your Windows 11, 10, 8 or 7 PC
- In 2024, How to Fake Snapchat Location without Jailbreak On Apple iPhone X | Dr.fone
- In 2024, Top 6 Ways to Transfer Text Messages from Vivo S18 Pro to Other Android Devices | Dr.fone
- Mastering Fixes: Navigate Past The 'New World Connection' Snag
- Mastering Space-Capturing Videos on Your iPhone 15 Pro: The Ultimate Guide and Hidden Technique Revealed
- Quick Solutions: Resolving JavaScript Issues in Discord
- Regular to Revolutionary How to Convert Videos for VR
- Troubleshooting the Initialization Error of Vanguard Ability on Valorant: A Comprehensive Fix
- Why Can't I Play Diablo Immortal on My Computer? Insights & Expectations
- Title: Step-by-Step Tutorial: Enabling Mac's Quick Look on Your Windows PC
- Author: Paul
- Created at : 2024-12-05 17:03:45
- Updated at : 2024-12-06 16:10:17
- Link: https://win-able.techidaily.com/step-by-step-tutorial-enabling-macs-quick-look-on-your-windows-pc/
- License: This work is licensed under CC BY-NC-SA 4.0.